
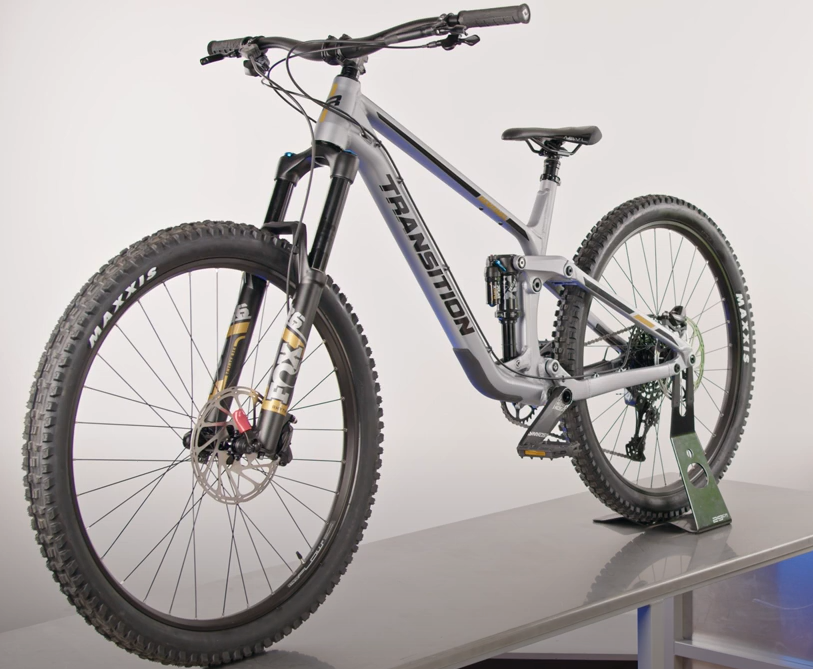
A huge brown box on your doorstep can mean only one thing: NEW BIKE DAY! But how do you turn the contents of that box into a rideable bike? All of the bikes we sell are given a Pre-delivery Inspection (PDI) by our workshop team, so all you need to do is follow a few quick steps and you’re good to go. With the help of our Bike Expert Tom, here’s our quick setup guide for how to build a bike and get it ready to ride!
What you’ll need:
- Multitool / Torque wrench
- Pedal Spanner
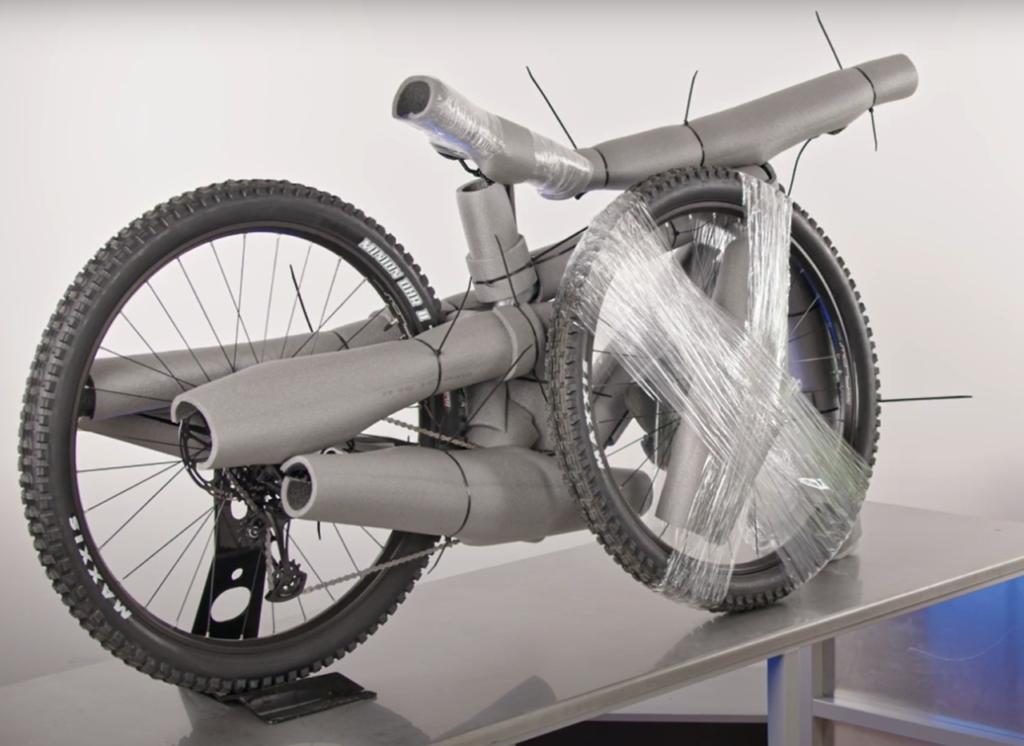
Step 1: Remove packaging
To ensure your new ride arrives to you in one piece and free of blemishes, our warehouse staff thoroughly wrap the bike in protective packaging! Your first step is to carefully remove all of the packaging from the bike.
Step 2: Straightening the handlebars
To straighten the handlebars, you’ll need to undo the stem bolts using a multitool. These bolts are usually 4mm or 5mm Allen heads (or sometimes very occasionally use a T25 Torx head). Once the handlebars and stem are straight, check that the headset cap and bolt are tight enough to remove any movement/play in the headset. Don’t over tighten to the point where you feel resistance when steering!
Once you’ve done this, simply retighten the stem bolts to the required torque (it will specify this on the stem).
For road or gravel bikes with drop handlebars, you will also need to rotate the bars to the correct position. Simply undo the stem face plate bolts, rotate the bars to the desired angle and then retighten the bolts to the torque spec.
Some bikes use ‘quill’ style stem with a single central bolt; undue this bolt, turn the bars straight and set the stem to the desired height, then retighten the bolt.

Step 3: Fitting the pedals
Fitting pedals to your bike is easy to do, but also very easy to get wrong! Before we start, it’s imperative to note that pedals have opposite threads and are side specific. Trying to force a left-hand thread pedal to the wrong side of the cranks for example will cause irreparable damage to both the cranks and pedals. Before you start threading the pedals on, make sure you have them the correct way round. Look for an ‘L’ or an ‘R’ marked on each pedal that should make things simple
- R is the drive side of the bike
- L is the non-drive side
Most pedals will have spanner flats so they can be installed with a pedal spanner, whereas others will need a 6mm or 8mm Allen key that you can tighten from the reverse side of the crank arm.

Additional steps for certain bikes
You may need to fit the front wheel if you have a mountain bike with 29-inch wheels or a long wheelbase. The way to do this varies on what axle system the wheel and fork has. It’ll be either…
- Quick Release Skewer
- Bolt-Through/Thru axle
The Quick Release Skewer is mounted into the wheel first and then slid into the fork dropouts to be tightened. These skewers need to be hand tightened enough that the wheel is secure, but not overly tight. A good sign to know the skewer is correctly tightened is that the lever should leave a light imprint on your hand/thumb when pushed into the ‘close’ position.
For Bolt-Through/Thru, put the wheel into the fork dropouts and then insert the axle and screw into the other side. Some use a lever at the end of the axle to tighten but others require an Allen Key - best to check the manual that comes with your bike if you have this style.

The last step: Go for a ride!
Now your new bike is ready to ride! Head out your door and start your first adventure with your new bike!
Enjoyed this? Read more of our latest news:
Where To Next?
Looking for the latest in all things cycling, running, fitness and more? Check out our wide range from top brands.
Come and visit us at our store, showroom in Wrexham.
Interested in everything we do? Catch up on all the latest Tweeks Cycles.